DIY-ATNTFIU: Card Games - R32 Door Card Removal and Restoration Part 2
In Part 1 I showed you how to remove
your R32's door cards (at least if you own a coupe but 4-doors
shouldn't be too different) but what happens if you take them off and
find they look more worn out than a pit bull's chew toy? How can you
make your door cards look as fresh as 1990's Will Smith without
breaking the bank or having to just toss them out and get new ones?
Well, I had to give mine some much
needed TLC so if you follow along we'll arts and crafts the shit out
of your door cards.
 |
| Here's my passenger-side door card. As you can see the door pockets were faded, the speaker grille was very tired-looking, and there were some nicks in the vinyl. |
Let's start by giving the door cards a
good wipe-down so we can see exactly what needs work. I just grabbed
a bottle of some trusty interior cleaner and a clean rag and gave the
whole thing a quick wipe to get the dust off and be able to see what
was wrong. There were quite a few little things that needed attention
and to make things easier to navigate I'll talk about them in
separate sections below.
Worn door pocket panels
A very common
issue with R32 door cards is that the back panel on the door pockets
starts to fade and discolor from time and use. They're screwed on
from the back but also have the door's vinyl cover glued to the
bottom edge so trying to remove and then refurbish them with paint
would be a pain. Fortunately, modern technology gives us an
alternative – simply give it a fresh new stick-on cover!
 |
| The driver's side pocket didn't look as bad as the other but they still needed work. |
 |
| These six screws on the back hold the backing panel on and are easy to undo but the panel will still be attached by the vinyl flap on the bottom. |
 |
| Flipping it over makes the wear more obvious. You'll probably also find a bunch of accumulated gunk at the bottom that you can now vacuum out. |
I saw this idea
implemented on a forum by someone and in his case he used carbon
fiber-look vinyl. I love carbon fiber but try to avoid the fake
carbon look. For me, I prefer parts to have actual CF if I want that
look rather than just a sticker so I didn't want to go that route
even though it turned out nice looking.
As an alternative
I decided I wanted something that would look nice and give the door
pockets a more upscale look AND feel so I ordered a roll of stick-on
automotive felt instead. The procedure to use it was the same as
using regular vinyl but instead of just looking posh it feels posh
now too. Now when you stick your hand in the door pocket you get a
tactile reward. It feels so nice it'll delay your work as you rub it
against your cheek for fun. Ooh, feltttt....
 |
| Once you have the panel flipped over just cut a piece of vinyl or felt slightly oversize and stick it on... |
 |
| ...then trim the edges and the screw holes with a sharp craft knife. |
 |
| Flip the panel back over, reattach, and now you have fresh-looking door pockets! |
Nicks in the vinyl
Another common
problem is getting nicks in the vinyl covering. Big cuts will likely
need an upholsterer to try and salvage them or may need a replacement
door card entirely but small ones can be salvaged with a little bit
of time and money.
 |
| Even from a distance you could see the nick in the armrest. |
 |
| Getting closer you can see it was small but deep and very hard to miss. |
As you can see in the pics above, my passenger side
card had a small but annoying nick in the armrest right in a place
where it was hard to miss as well as some smaller ones in more hidden
places. The armrest nick was pretty glaring to me so I decided to
give it a go with a vinyl repair kit. I ordered this one from Amazon
and set to work:
 |
| The kit cost less than 10 bucks using free shipping. |
Vinyl repair kits
come in two kinds – ones that need heat and ones that don't. The
professional-level kits usually need an electric heater to cure the
repair while some amateur ones come with a little metal-tipped tool
you heat with a clothes iron. Getting uncomfortable burns wasn't high
on my list of priorities so I decided to try a non-heat approach
first.
This particular
kit is simple to use. Inside you'll find some goopy paints in
different colors that you're supposed to mix to get a color match to
the material you're fixing. A handy guide is inside to give
suggestions on which colors to use to get the hue you need while a
spatula is also inside to apply your tasty concoction (note: I don't
really know if it's tasty and I don't suggest you try and find out
unless you like the idea of ingesting possible toxins). Happily, the
black shade actually comes close enough to the shade of the R32's
vinyl that I just used that without mixing. I tried making a more
grayish mix but that turned out more trouble than it was worth and
later realized the black was close enough by itself.
After applying the
paint to the nick you're then supposed to cover it with the supplied
texture papers and leave that on for 24 hours. A day later if you did
it right you should have a repair that's virtually unnoticeable.
Lucky for me, that's what happened with mine despite my totally
shitty skills. Yes, if you look at the picture below you can still
see a small patch where the nick was where the vinyl seems duller
than the rest but it's still far less noticeable than the small but
deep cut that was there and in most lighting conditions it just
blends in. Most people will never even notice the repair unless I
point it out.
 |
| After doing the vinyl repair there's now just a barely noticeable patch instead of a deep and glaring cut. |
 |
| From the same distance as before you wouldn't notice it now unless you knew about the repair. |
Ugly speaker grilles
I'm not sure what
was done to my car's speaker grilles but they looked like somebody
had invited them to an asskicking competition and they'd totally
lost. It seems to be another common issue with R32 doors. There were some decent dents in mine that I couldn't straighten
out permanently so I decided to see if I could get new ones instead.
I got lucky, well,
partially lucky and found that I could still order the right
side panel from Japan. Unfortunately there was no stock left of the
opposite side or the little “Active Speaker” logos. After
inspecting both of my door cards and staring at them until I probably
could have developed latent pyrokinesis I realized that the grilles on
both sides had the same shape so I thought I could get the right side
grille to work on the left side card with some work. Taking a chance
I then ordered two of part number 28176-01U00 for about 25 bucks each
plus shipping.
 |
| Here are one of the new grilles and an old grille side by side. Look at how bent and battered the old one looks and how the finish has changed over time. |
Once I had them in
my grubby paws I then had to figure out how to liberate the existing
grilles from the door cards. Turned out that was easy, although some
patience is required.
Basically the
grilles are held on mostly by little metal discs that go around the
plastic pegs on the back. All you have to do is stick a flathead
screwdriver underneath the disc and then slowly pry it off the peg.
If you're careful it'll eventually pop right off and you can then
reuse it for the new grilles.
 |
| A little bit of leverage and the retaining discs just pop off. |
 |
| Once the discs are off you just shove the grille out. |
If you rush levering the disc out you'll most likely break
the plastic peg right off. That happened to me once. I didn't care
about the peg but I wanted the disc for the new grilles.In order to get
the disc off I grabbed a 10 mm socket, set the disc in it so that the
peg was centered, and then whacked it with a hammer repeatedly until
the little BASTARD CAME OUT! HA! SHOWED YOU WHO'S BOSS DIDN'T I!!!
 |
| Center the peg in a 10mm socket and wail away at it...gently. |
Ahem. Anywho, the
socket comes in handy later on too because once you get the old
grille off you can then use it to tap the disk back onto the pegs on
the new grille. Removing the discs from the old grille lets it just
pop out from the hole since the upper part is just secured by a one metal tab and two plastic ones. During reinstallation you push the discs onto the pegs
first with your hand then you can tap them the rest of the way with
the socket and hammer.
 |
| Here's the new driver side grille in place with the retaining discs back on and secure. |
The right side
grille was easy to reinstall of course but on the left side I found
that even though the grilles were the same shape outwardly the pegs
on the bottom were in different locations. The metal tab at the top
was also placed differently but that didn't matter. In order to get
my spare right side grille to fit the left door card I figured out
that I could remove the two bottom pegs and then just have it held in
place by the two middle pegs and the top metal tab. To get the pegs
off cleanly I broke out a rotary tool and cut them off with a cutting
wheel then ground down the remaining stub flush. After doing that the
grille popped right in and after setting the metal discs on the
remaining two tabs both my door cards now had fresh speaker panels!
 |
| Here you can see how the right and left grilles are the same shape but the two bottom pegs and the upper tab are in different places. The top tab isn't a problem but the pegs won't match the holes. |
 |
| So I just took the pegs off. A rotary tool made the work super easy. |
 |
| Removing the two bottom pegs allowed the right-sided grille to fit the left door card and fitting two discs on the remaining pegs still keeps it pretty secure. |
Oh, but I'm
forgetting something – I also had to touch up the little “Active
Speaker” logos because the text on mine was pretty faded. I toyed
with putting new Kenwood stickers on instead to match the stereo
components but the factory badges are a relic of the time the car was
made so I wanted to keep them if possible. Besides, “Active
Speaker” sounds cool! It's so dynamic, just like how everything in
the '80s when this car was designed had to be a “Turbo” - turbo
cars, turbo jets, turbo electronics, turbo encabulators...they just
had to turbo all the things! And what couldn't be turbo'd had to be
active...like these speakers! Such an amazing time! Lot of cocaine
use back then don't ya know?
Getting back to
the job at hand, first I had to separate the badges from the old
grilles without breaking them. That turned out to be easy since they
were just glued on and a little gentle persuasion with the old
flathead screwdriver took care of it.
 |
| The text on my driver's side logo was very badly faded. |
 |
| The passenger side looked better but still had issues. |
Next,
how to refinish the “Active Speaker” text? For that I used an
old, old trick and grabbed a paint pen. The one I used was a Krylon
Silver Leafing Pen. The original finish on the badges is actually a
slightly gold color rather than silver but I prefer silver to gold so
I didn't care but you might if you want to keep it looking original.
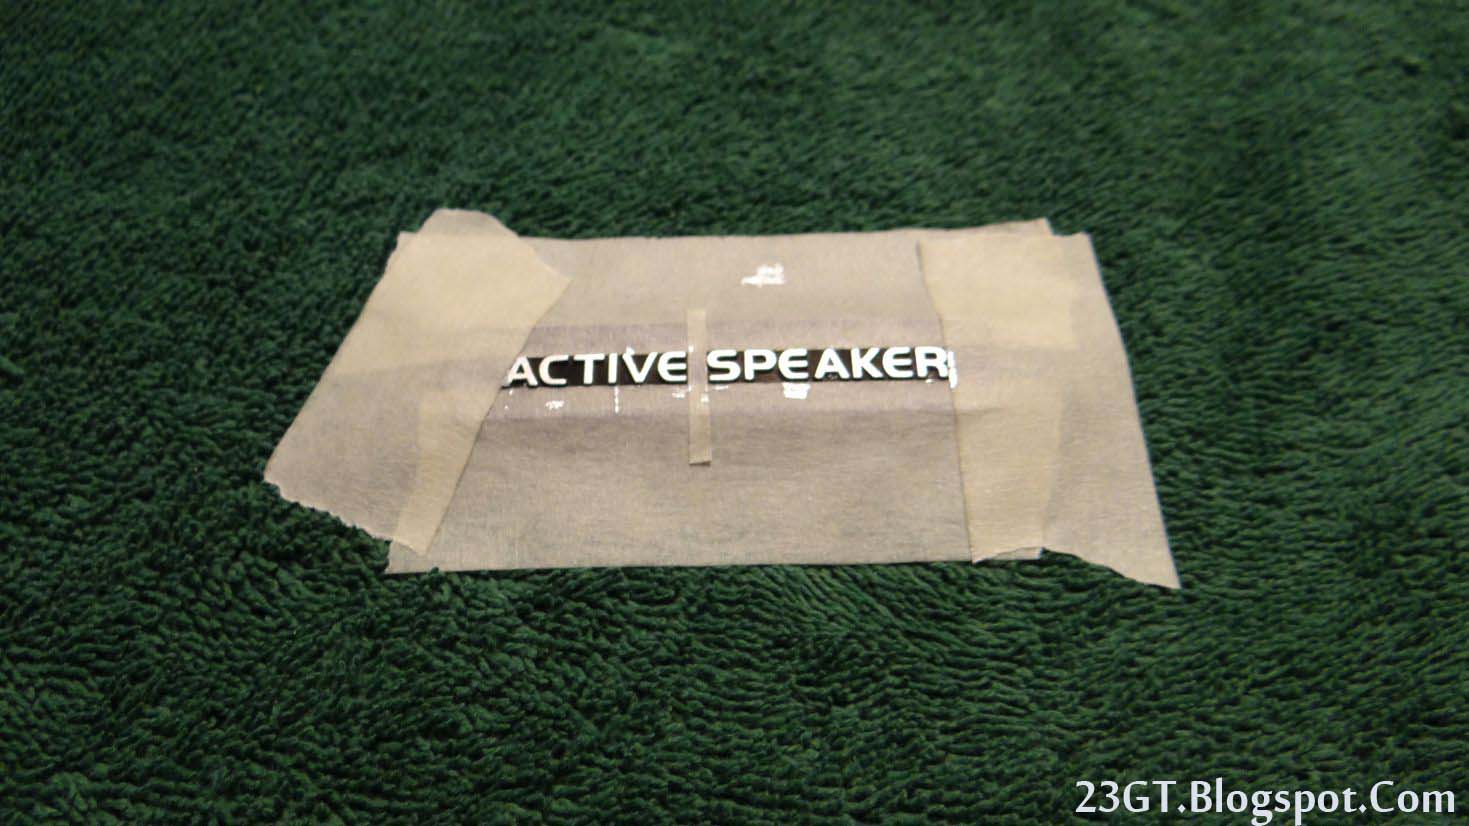
I took some masking tape and covered up the rest of the badge then
carefully highlighted the raised text with the paint pen. The chisel
tip to the Krylon pen made it easier to stay just on the raised parts
and not get any on the rest of the badge. After some time, voila! Two
badges that were now perfectly legible and had regained their '80's
charm!
 |
| A Krylon Silver Leafing Pen is a good choice for touching up the logos since it has a nice wide chisel tip. |
 |
| Mask off as much as you can. |
 |
| Then carefully highlight the text with the paint pen. |
 |
| Presto! Two refreshed Active Speaker badges! |
To
stick them back on I used some 3M trim tape I had lying around and
now my speaker grilles looked good as new.
 |
| 3M Trim Tape is stronger than regular double-sided tape. You can buy it from any decent auto parts store. |
Rusty mounting hardware
Just
like with a lot of the things on your 25-year old R32, don't be
surprised if the metal mounting pieces on the back of the door card
have some surface rust. If you've read my previous DIY articles then
you already know what to do: just grab a rust converting paint like
the Loctite Extend I've been using and give them some quick coats.
It's
just surface rust but why let it be when you've already got access to
it and it takes just a couple of minutes to take care of it?
 |
| Some quick coats of Loctite Extend will help keep the rust from getting worse. |
Cloth inserts that are torn or
coming off
This actually
isn't a problem that I had to deal with since the inserts on my cards
were fine but if you have droopy ones like on a lot of R32s then
here's a fix for you:
 |
 |
| A little time and work gave me two new-looking door cards ready to go back in when the time comes. |
And
that concludes today's installment of “Arts and Crafts 2301”. I
hope this inspires you to go out there and save some door cards from
all their years of neglect!
Important
disclaimer: Understand that working on your car can be inherently
dangerous. This is meant to be a guide only and does not take the
place of common sense and proper safety precautions. Only you can
ensure your own safety. Know your limits and ask for qualified help
if you're unsure of something. Every time you act stupid in the
garage...God kills a Miata.


And I though the Active Speaker emblem is already included as well as the small washer locks if you buy a new one. :(
ReplyDeleteYou still have the part numbers of the Active Speakers and the washers? 🙂 Need those washers since some were lost.
Sorry about not responding earlier but I've been busy with my cycling training lol. I tried my hardest to find part numbers for the Active Speaker labels but never found any which is why I just refurbished mine. Same with the washers sadly. I was missing some of mine too but thankfully I still had enough to keep my grilles in fine. Even just two seem to do a pretty good job if put on tightly enough.
DeleteIf you'd like to check yourself here's a link to JP Carpart's part diagram for the door:
Deletehttp://jp-carparts.com/nissan/partlist.php?maker=nissan&type=79&cartype=50&fig=809